
a dresser for baby Jackson
Hey guys, remember me?! I’m back from my self-imposed baby break for a quick check-in. I don’t think I’ve mentioned it here on the blog yet but I have some great news: Jeff and I are expecting our first child, a baby boy, in early May! We have been trying for a baby for what feels like a very long time so when I took that positive pregnancy test back in September it was a surreal moment. The last 7 months have been full of such wonder and joy, cresendos felt so strongly in contrast to some crippling morning sickness in the first trimester (ugh, I still gag thinking about it.)
After going back and forth with lots of different names we’ve landed on…
Drum roll please…
Jackson Carter Vogel!
Jack for short!
Or Jacks, or JC, whatever goes :)
We’ve been working in the nursery off and on for the last month and things are really starting to come together. We’re keeping it pretty simple with some whimsy touches that are a nod to my hubby’s one true love: superhero comics! But before I share all that fun stuff I wanted to show you the dresser/changing table that we just finished up. It is truly a labor of love!
I have always loved Restoration Hardware’s line of baby furniture, particularly the Jameson line but the price tag is just not one that works for our budget:

So when my mom spotted this super-sized dresser at her local thrift store we both knew it would be the perfect candidate for a RH style make-over.
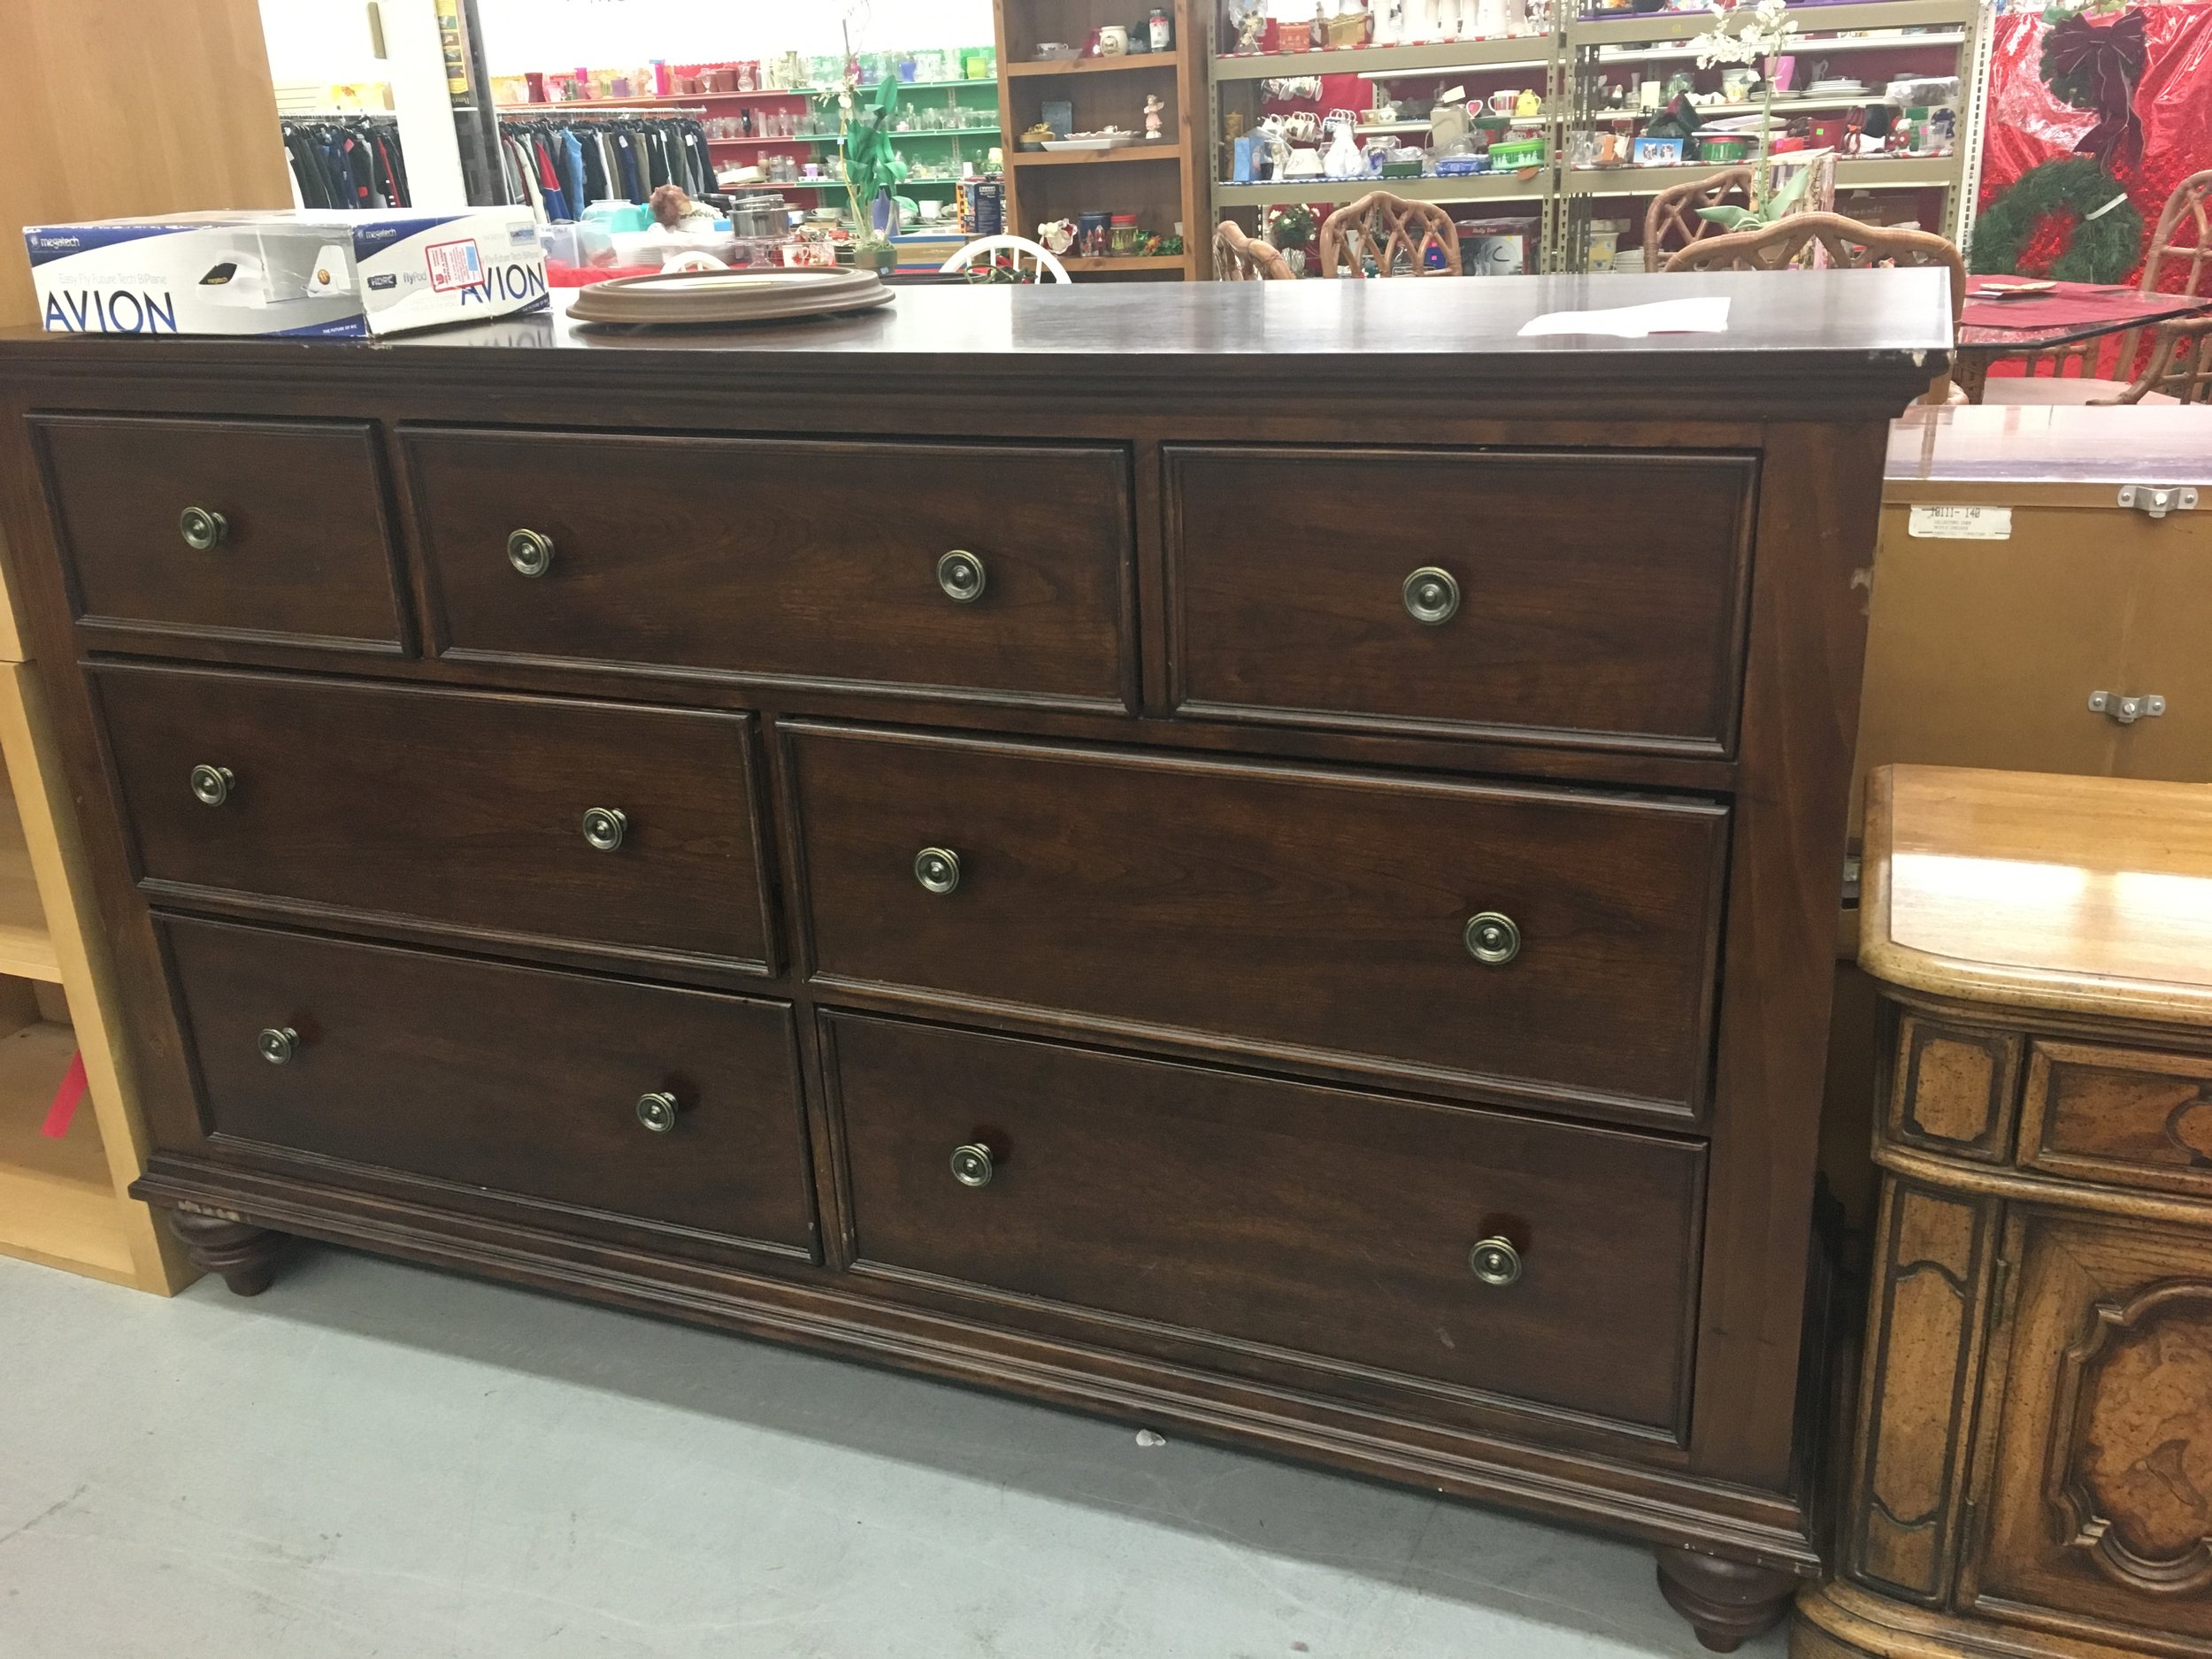
It is MASSIVE! Over the next month my mom steadily sanded the entire monster down to the original wood… talk about an all-star grandmom :)

Bit by bit…
Piece by piece…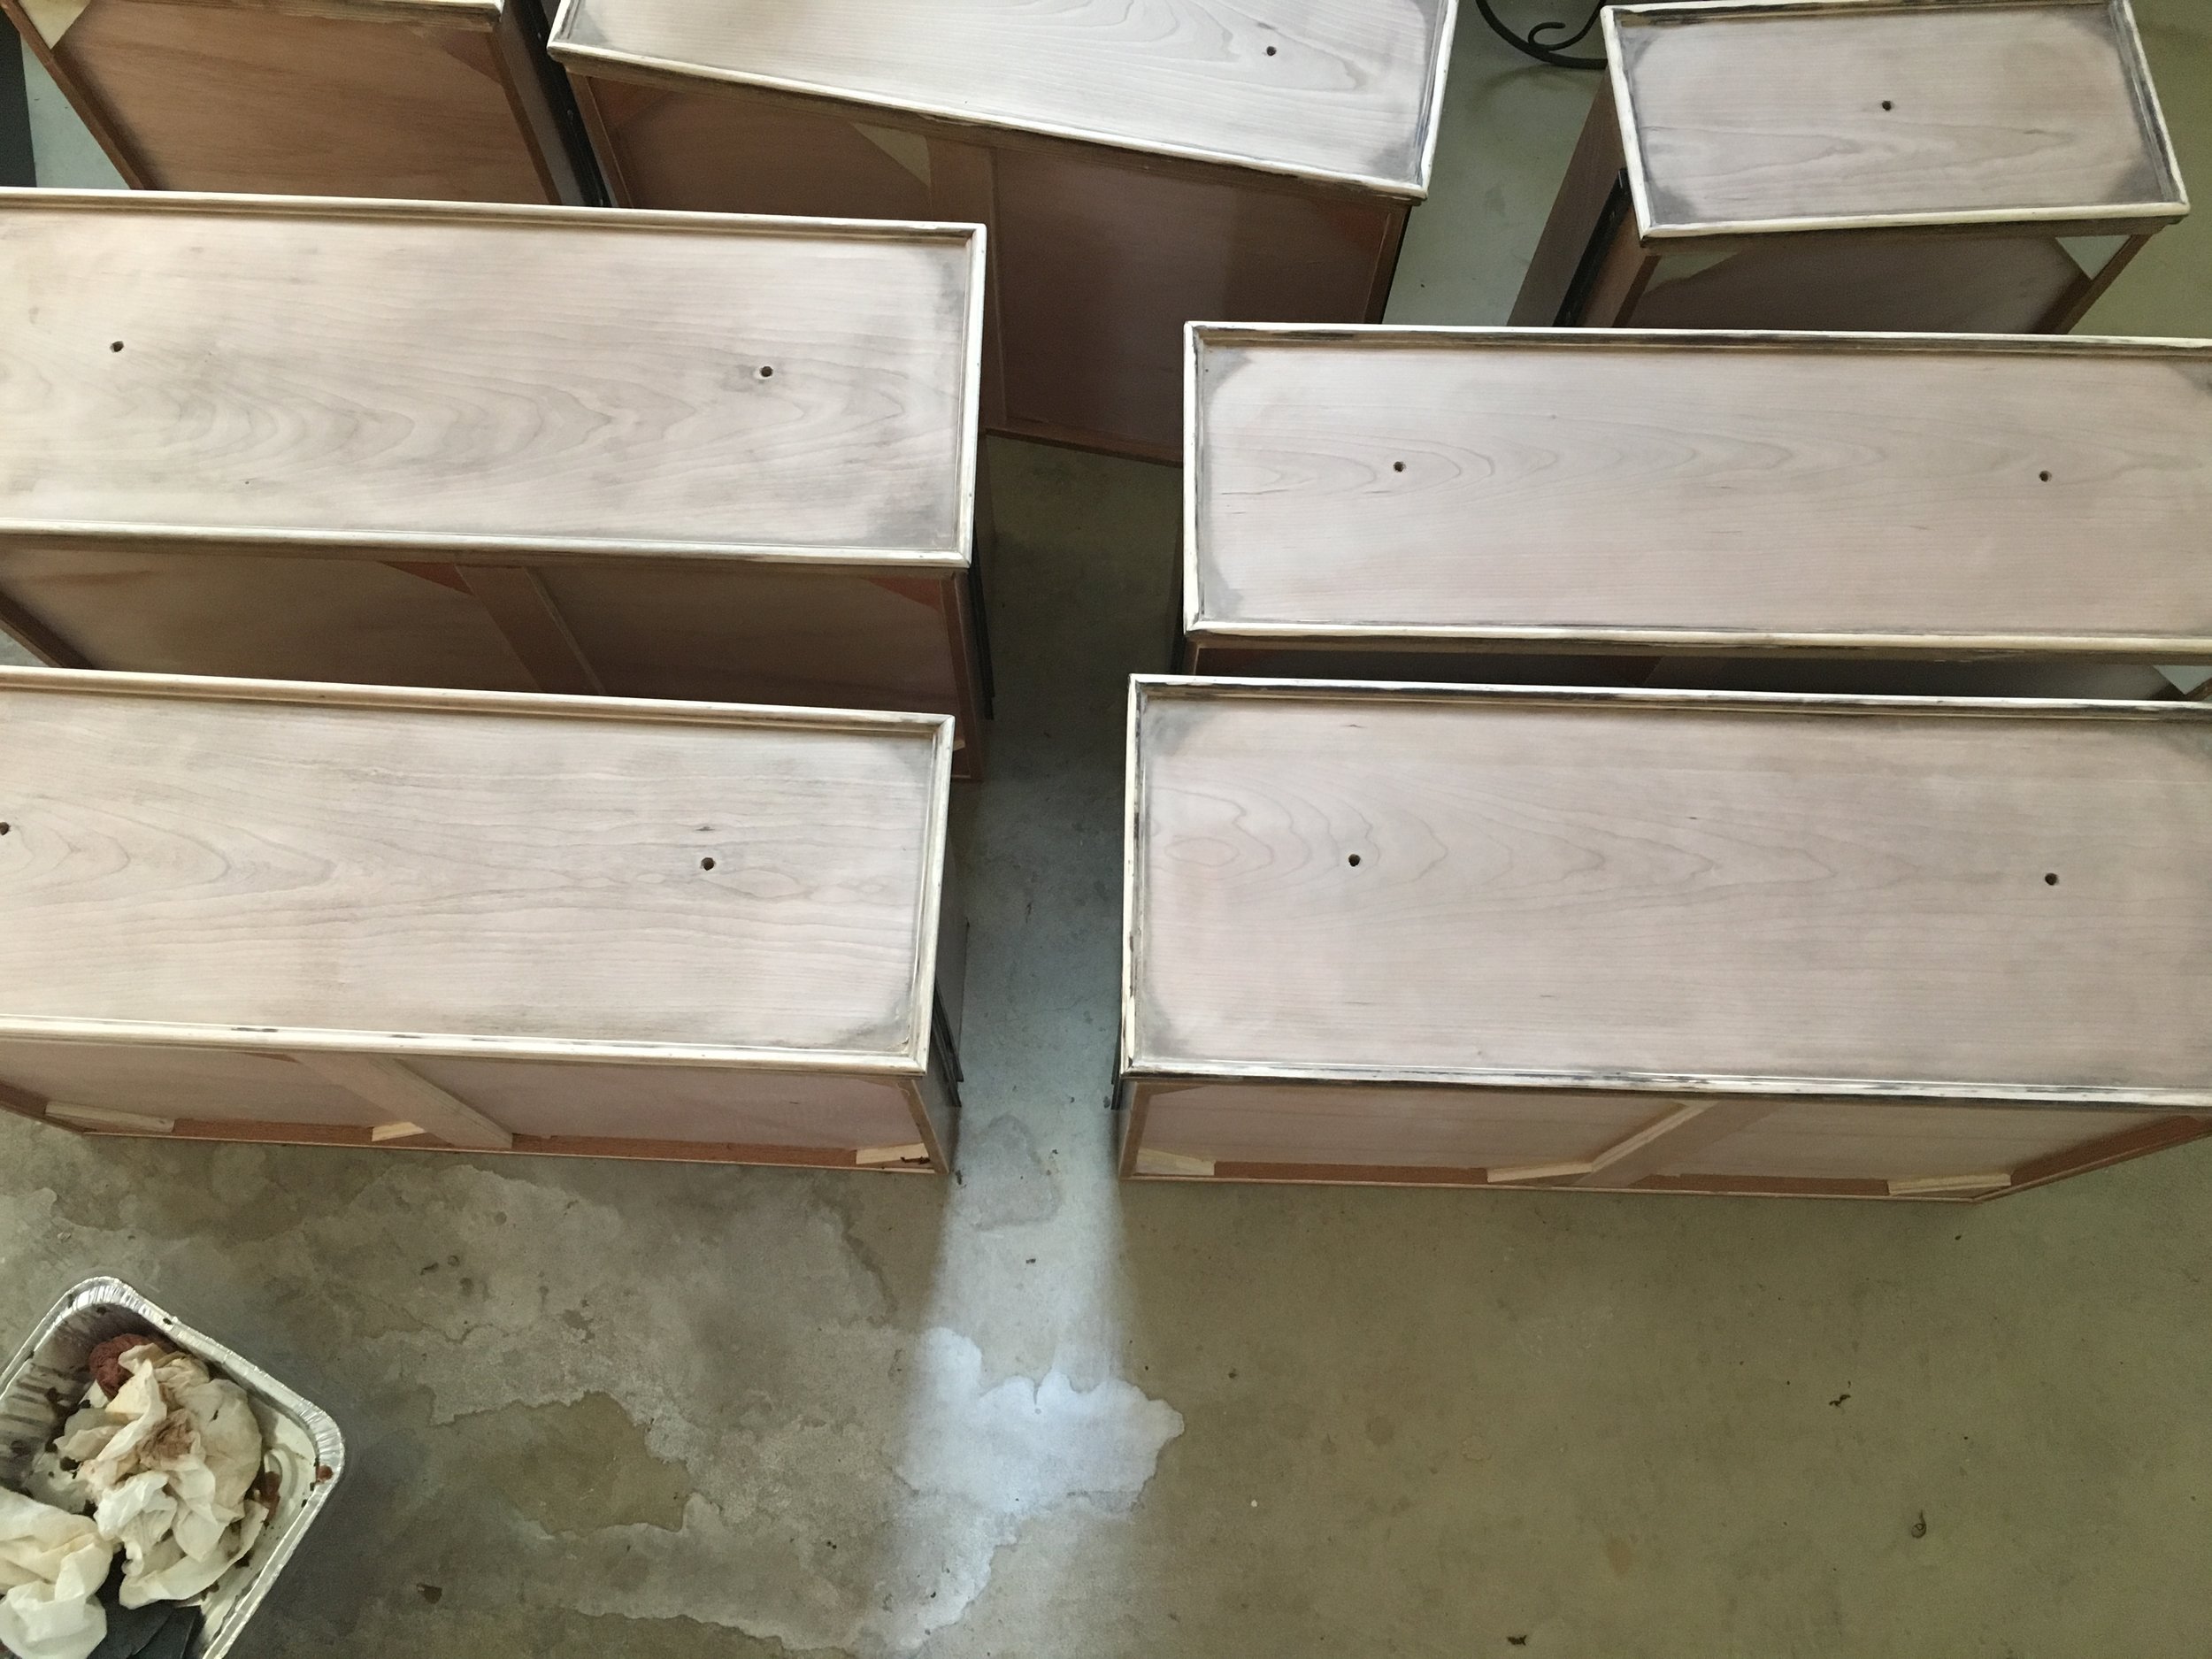
Every nook and cranny…
Just for me to cover it right back up in stain!
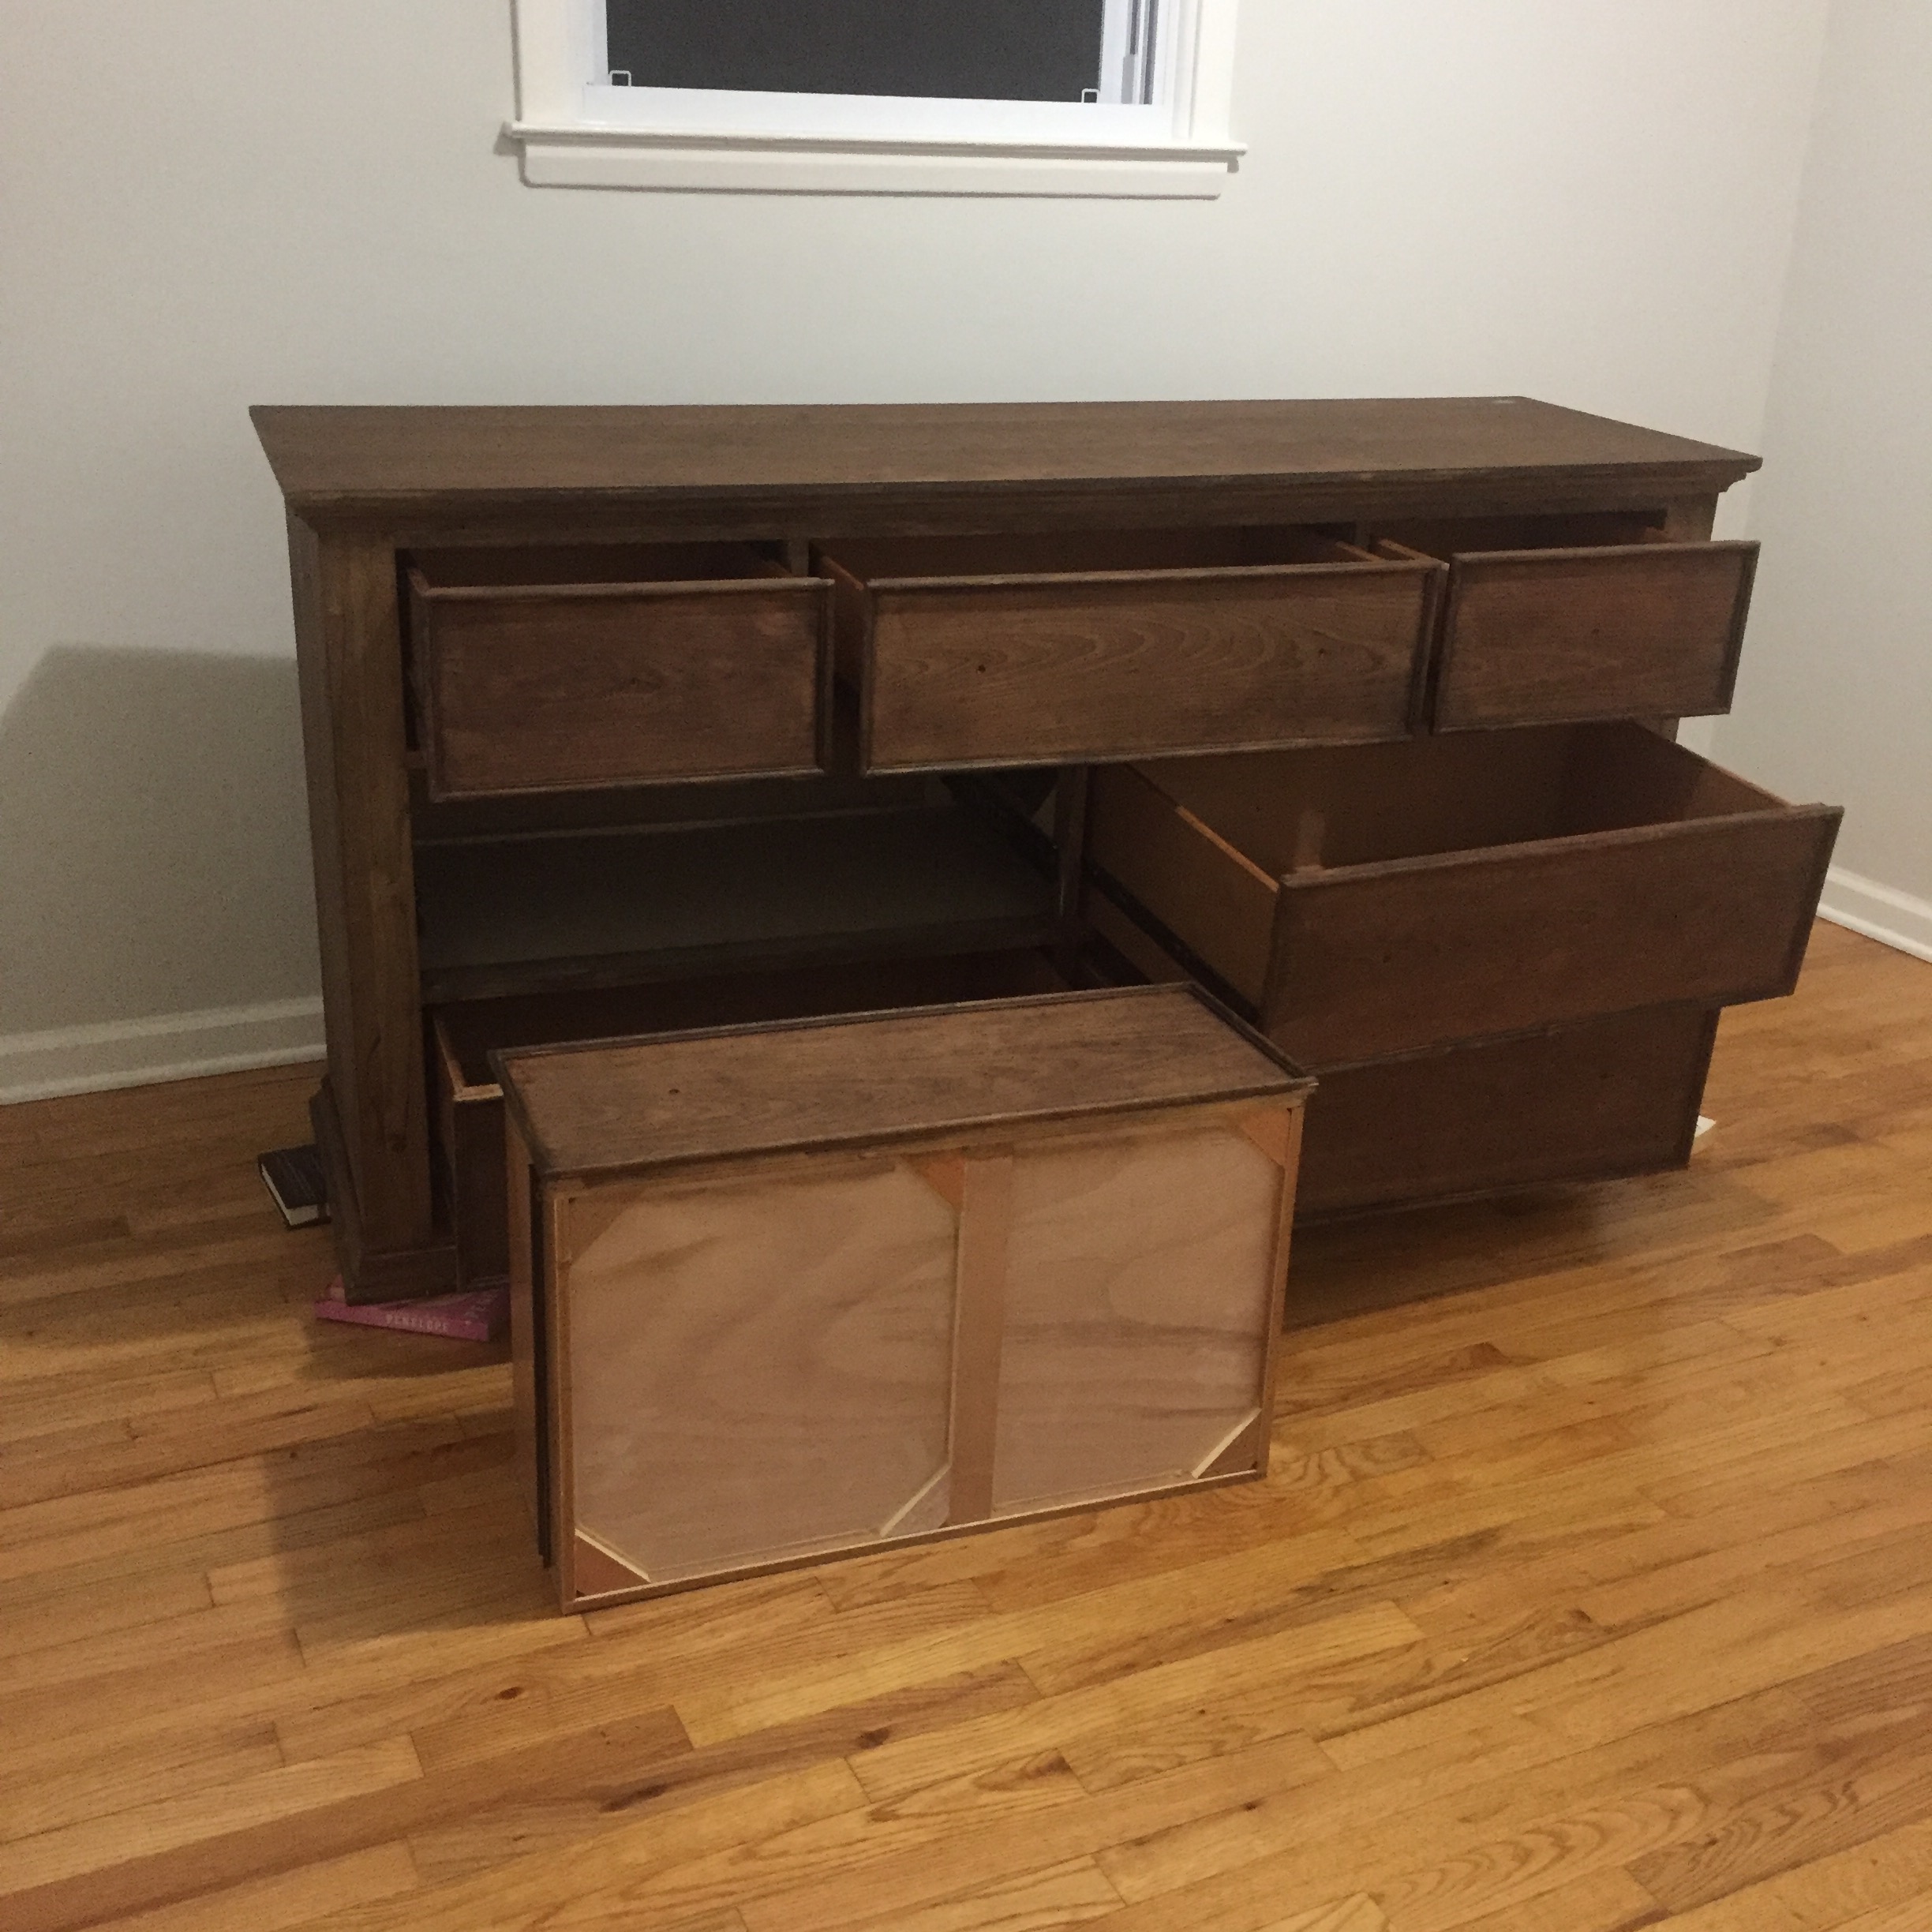
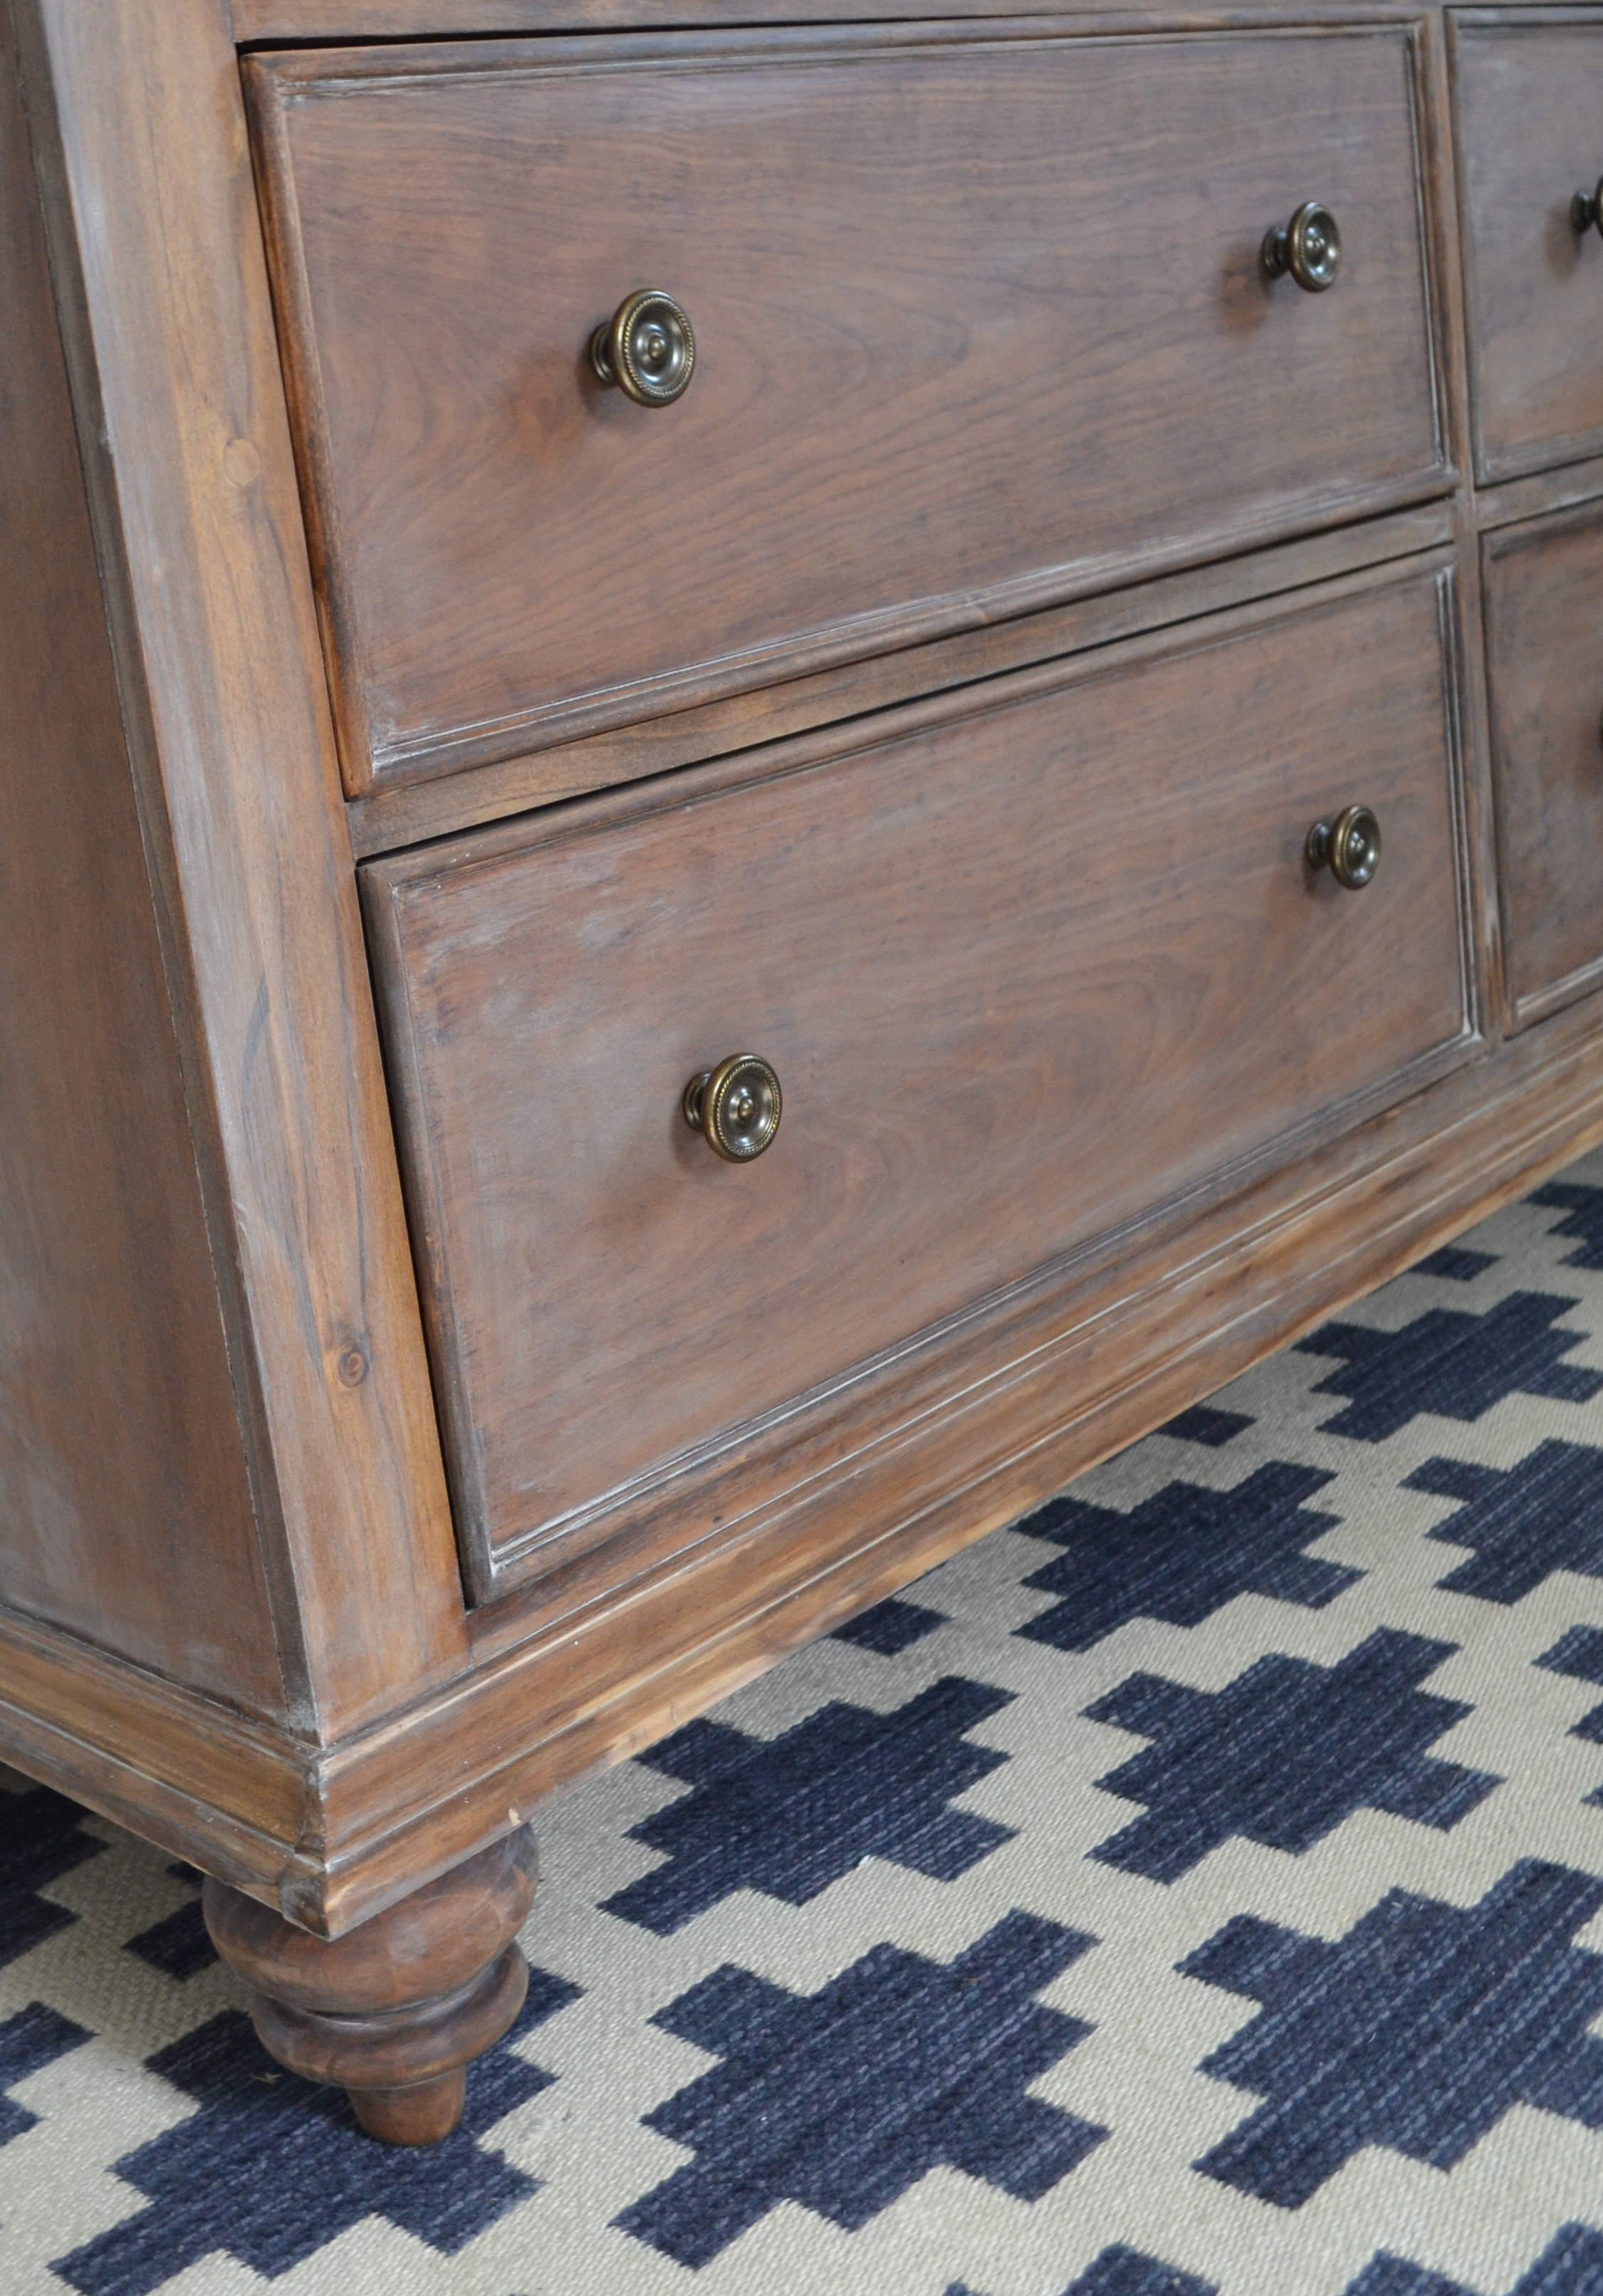
I used Minwax’s Provincial Wood Stain and the wood sucked it up beautifully! I left it to dry out overnight and finished it off with a coat of Valspar Limewash Glaze which you can pick up at Lowe’s… it looks like this (and yes, the can is that small.)

My advice is to work fast and in workable sections. Don’t be intimidated! I saturated the entire drawer with a brush and then went back and wiped it away with a damp cloth and finished it off with an inside out tube sock that I wore over my hand and wiped in uniform strokes. I went back in and worked to apply some white strategic positions around the drawer edges and trim to get that textured, aged look. So in love with the result!

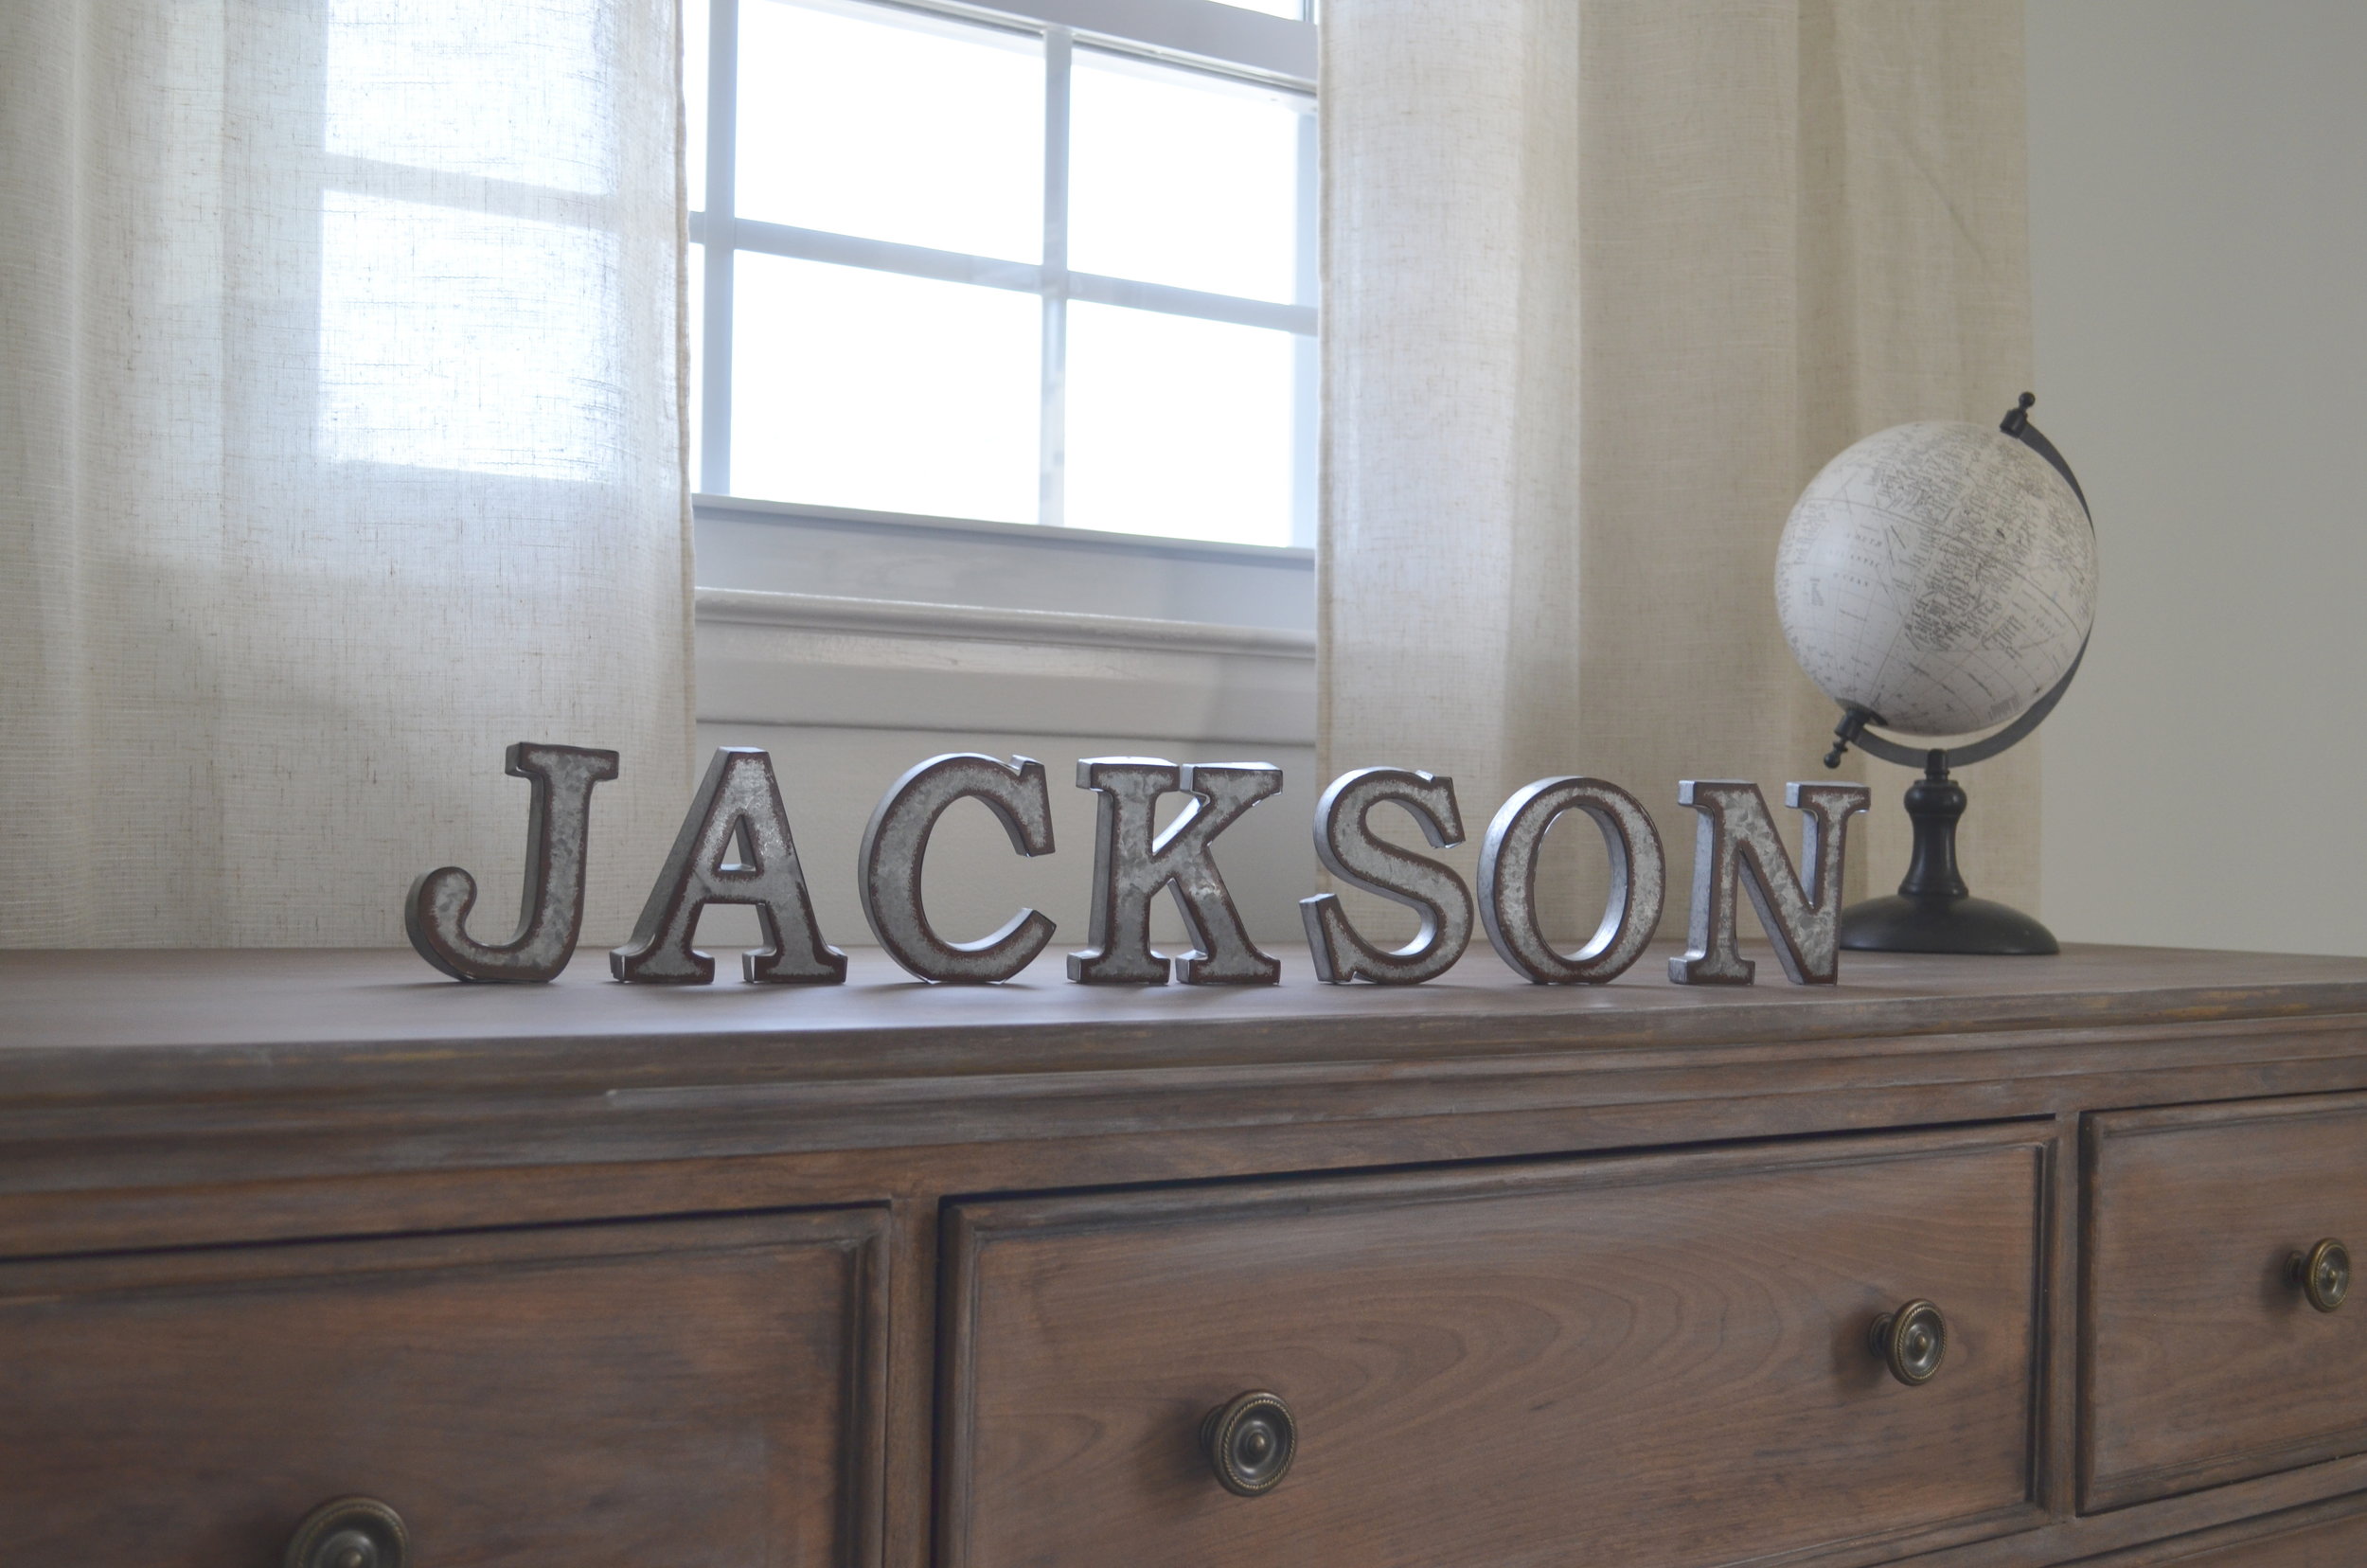


Stay tuned as we finish up Jackson Carter’s nursery :)
-Lindsey xo